I have always loved Christmas time. There is beautiful food, lots of laughs and just general family time.
This year has been a big year for us, we are looking forward to having a lovely relaxing weekend for Christmas. For my mother’s birthday, I made a quick trip home to catch up with her. I thought that this was the best opportunity to go back on a long held pact about making gingerbread houses.
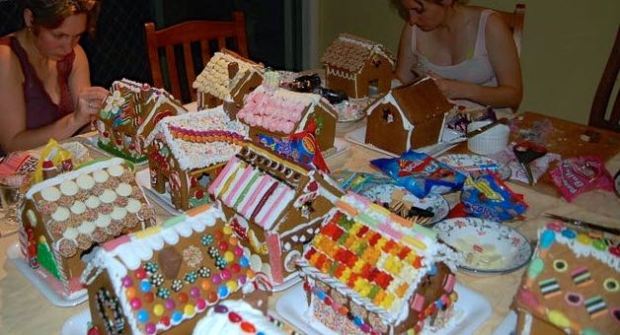
A few years back, we started taking on larger challenges for Christmas baking. We bought a gingerbread house flat pack from the local bakery, but thought we could do better… So began the gingerbread village. What started off as a simple gift from me to my mother, grandmother and (future) mother-in-law, soon became a long, hot construction job. I think the first year there were three. Then they started to multiply into a spiralling chaos that caused us to sour on the fun. This is the gingerbread village, I think we made about 18 houses that year.
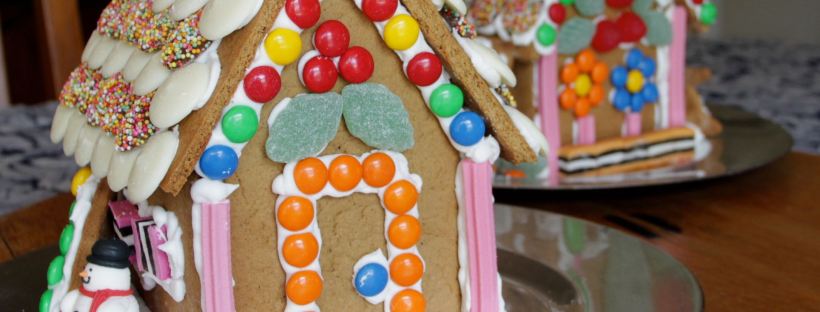
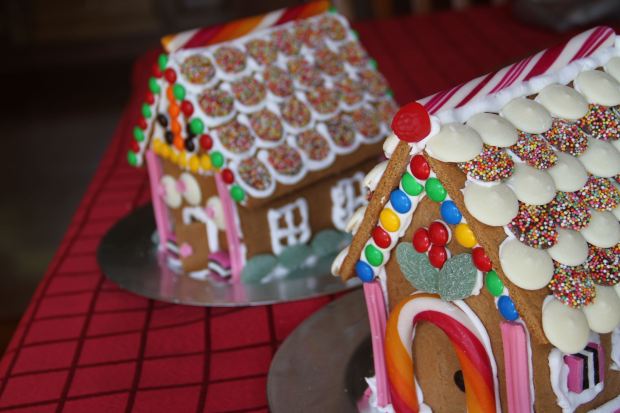
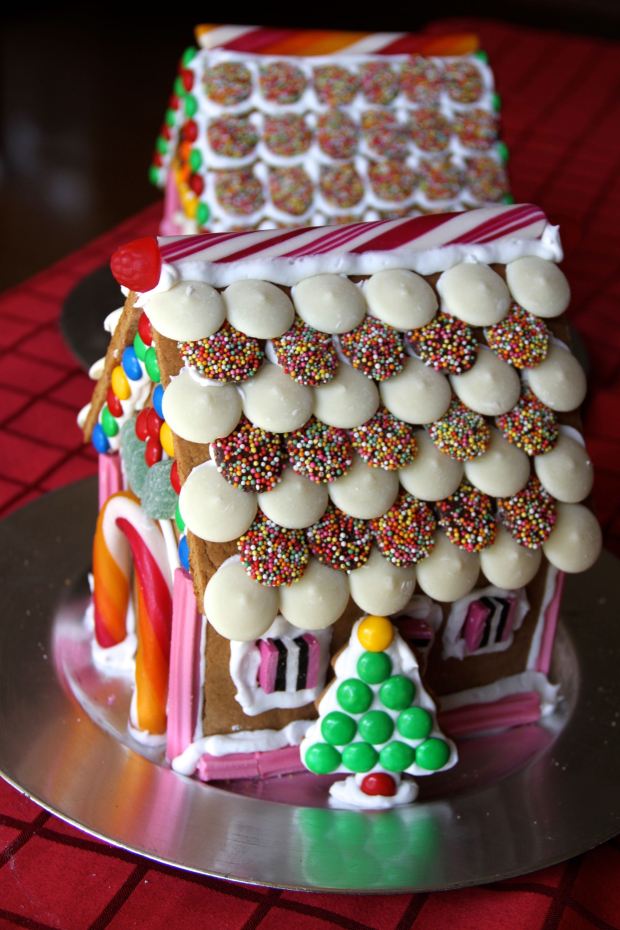
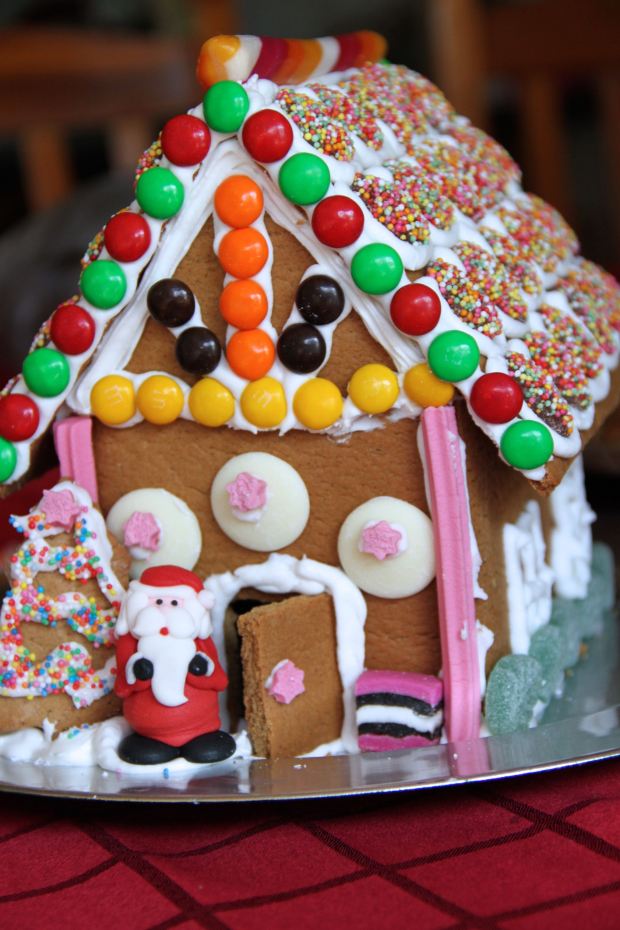
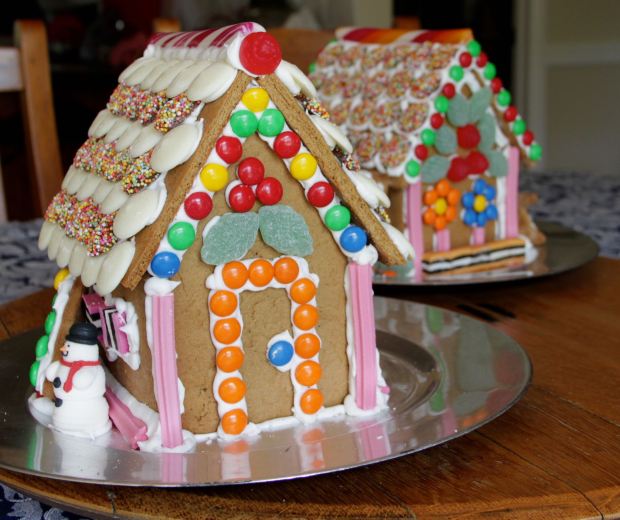
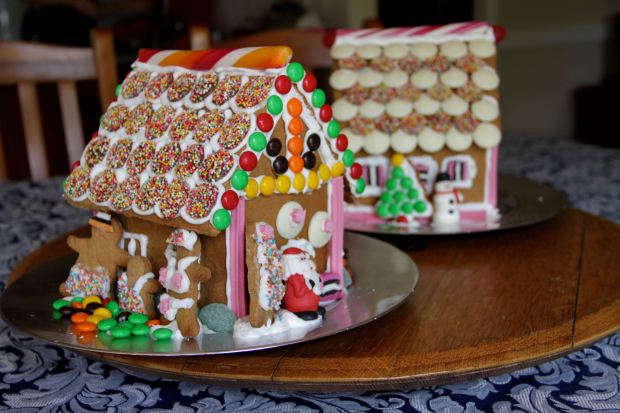
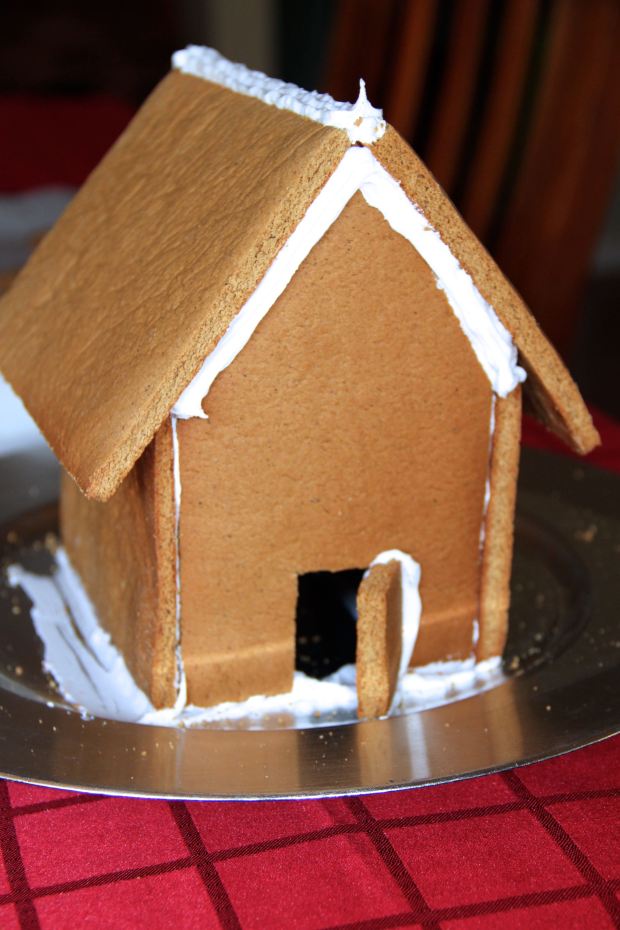
As Christmas draws near, I put aside all the angst from previous gingerbread villages, and remembered how much fun it was to create something so personal to gift to family. This year I made two beautiful little houses and had some help decorating. It was a lovely weekend spent baking, laughing, sharing and just generally enjoying the company.

This recipe is a Women’s Weekly recipe, the gingerbread is not too overpowering and is tough enough to hold it’s shape under the copious amounts of lollies and chocolates.


Gingerbread House
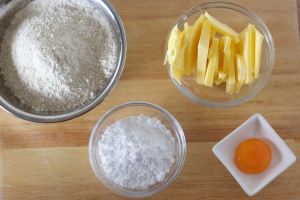
Ingredients:
- 2 1/4 cups self raising flour (or plain flour and baking powder)
- 1 1/2 teaspoons ground ginger
- 1 teaspoon ground cinnamon
- 3/4 teaspoon ground cloves
- 1/2 teaspoon ground nutmeg
- 90g butter, chopped
- 1/2 cup firmly packed dark brown sugar
- 1/4 cup treacle
- 1 egg, beaten lightly
Method:
Using baking paper cut out templates: 13cm x 17.5cm for the roof, 10cm x 15.5cm for the side walls and 10cm x 18cm rectangle for the front and back walls. For the gables, trim the walls so that there is still 10cm of vertical wall to match up with the sides, then taper to a point in the middle. I only cut one of each of these and used each twice to ensure I had all the right bits.
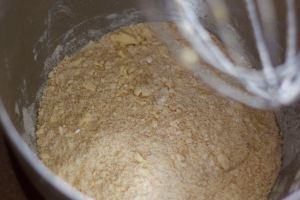
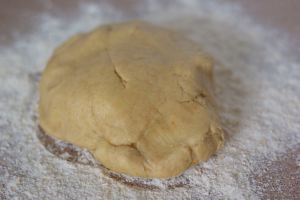
Process the flour, spices and butter until crumbly. Add the sugar, treacle and egg, and process until combined. Turn the dough out onto a floured surface and knead until combined. Wrap the dough in plastic wrap and refrigerate for at least 1 hour.
Preheat the oven to 180’C/350’F. Line baking trays with baking paper.
Roll the dough on a floured surface in separate batches until even and 5mm thick. Use the templates to cut two of each the roof, side and front shape of the house. Carefully move to baking trays (mine kept their shape pretty well, at the end of the dough the later templates got a little dry, I used a splash of water to moisten it enough to be able to work it again.)
Bake the gingerbread for 10 minutes or until shapes are barely firm. Remove from oven and quickly tidy the edges of the gingerbread with a sharp knife. The pieces will become crisp as they cool. (If you are feeling dangerous you can cut out a door but if you are not careful this can just reduce the structural integrity of the building if the gingerbread is not stiff enough!). Allow to cool.
Royal Icing:
- 2 egg whites
- 3 cups PURE icing sugar (not icing mixture), or to correct texture
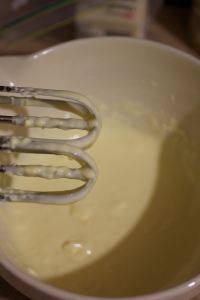
In the large bowl of an electric mixer, beat the egg whites until stiff. Gradually add the icing sugar until the icing is firm and hold definite shape. It should be thick and glossy, if it is too runny, add more icing sugar until it hold its shape very well, otherwise your house might not stay up…
Alternatively, the recipe I saw called for milk chocolate to use as the glue for the house, but in an Australian summer I didn’t trust it would hold properly. Either would look lovely.
For the assembly-
Using a piping back with a thick tip on the end, pipe a rectangle on your desired board/plate. Using extra hands, pipe the sides of each wall together and the bottom to the plate. When the sides have set firmly, gently pipe around the tops of all the walls and carefully place the roof. You may need to hold the roof in place for a few minutes until the icing is set enough so it doesn’t slide down.
I like to use extra icing under the eaves of the roof for added support, there is always room for extra stability…
If you are worried the gingerbread is too thin or weak, you can reinforce the underside of the roof before placing it on the house by using wooden skewers are setting them in place with royal icing. (I didn’t need to with this recipe because the gingerbread was quite firm).
Decorate as you desire! Some useful ideas:
- Freckles and chocolate buttons for roof shingles
- Smarties and M&Ms for colour
- Musk Sticks for uprights/doors
- Candy canes for the roof or doors
- Honeycomb bars make great chimneys
- Gummy bears as roof shingles
- Jubes and other chewy lollies give lots of colour.
ENJOY!